
In today’s digital age, where electronic transactions and online payments have become the norm, the art of writing a check might seem outdated. However, there are still situations where a physical check is necessary. Whether you’re paying rent, giving a gift, or making a donation, knowing how to write a check is a valuable skill. In this guide, we’ll take you through the simple steps of writing a check and ensuring it’s done correctly.


Introduction
In a world of electronic transactions, the traditional practice of writing a check might seem foreign. However, understanding how to write a check is still a relevant skill. Whether it’s for personal or business use, writing a check involves a series of steps that ensure the proper transfer of funds.
Understanding the Components of a Check
Before delving into the process of writing a check, it’s important to understand the different parts of a check. A typical check includes the following components:
- Date Line: The top-right corner of the check where you enter the current date.
- Payee Line: This is where you write the recipient’s name, the person or entity to whom the check is addressed.
- Amount Box: The box on the right side of the check where you enter the numerical value of the payment.
- Amount Line: The line below the “Pay to the Order of” line where you write out the payment amount in words.
- Memo Line: A space provided for adding a note or description about the purpose of the check.
- Signature Line: The bottom-right corner where you sign the check.
Step 1: Date the Check
Start by entering the current date on the top-right corner of the check. This is the date when the check is being written.
Step 2: Write the Payee’s Name
On the “Pay to the Order of” line, write the name of the person or business you are paying. Make sure the name is accurate and spelled correctly.
Step 3: Numerical and Written Amounts
In the amount box on the right side of the check, write the payment amount in numbers. Below that, on the amount line, write out the amount in words to prevent any ambiguity.
Step 4: Fill Out the Memo Field (Optional)
The memo line is where you can include a note about the purpose of the payment. This step is optional but can provide additional clarity for both you and the recipient.
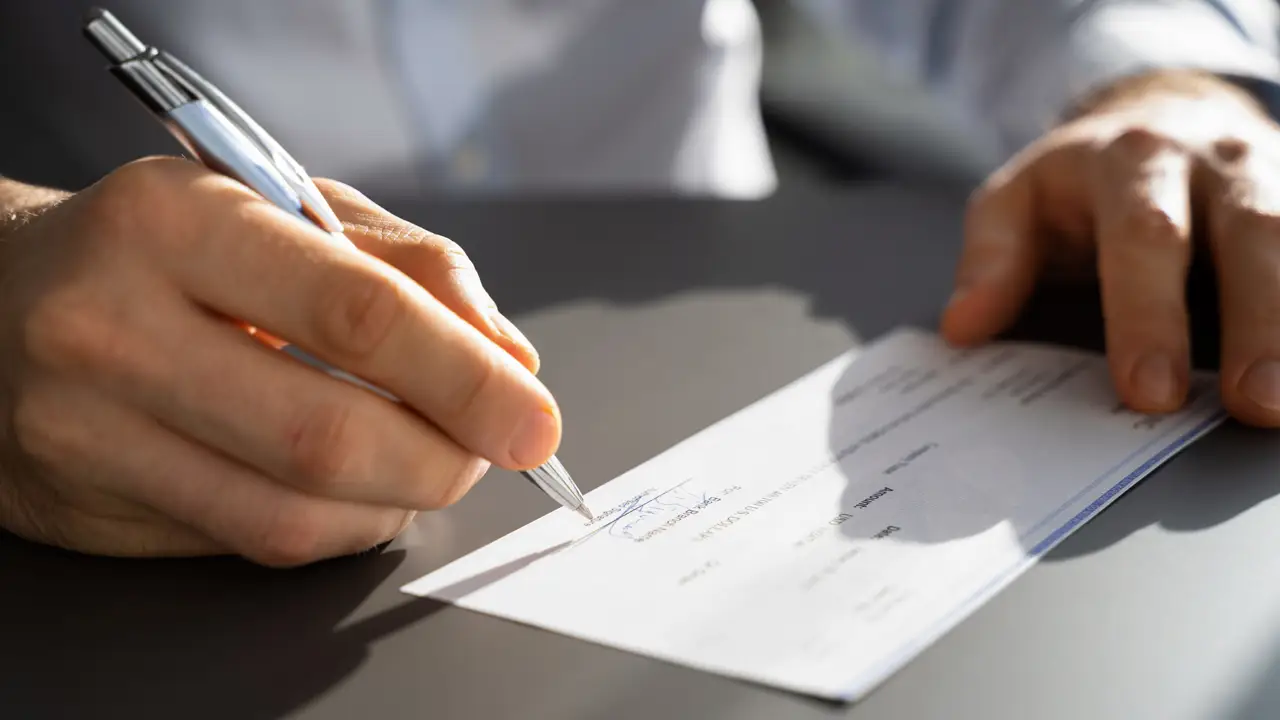
Step 5: Sign the Check
Your signature is crucial as it authorizes the payment. Sign the check legibly on the designated line.
Common Mistakes to Avoid
- Postdating: Writing a future date on the check can lead to confusion and potential issues.
- Incomplete Fields: Ensure that all required fields, including the date, payee’s name, amount in numbers and words, and your signature, are filled out accurately.
- Signature Discrepancy: Make sure your signature matches the one on file with your bank.
Safety and Security Measures
- Secure Checks: Keep your checkbook in a safe and secure place to prevent unauthorized use.
- Use Gel Pens: When writing a check, opt for gel pens as they are less likely to be altered or tampered with.
Cashing or Depositing the Check
The recipient can either deposit the check into their bank account or cash it. Depositing is more secure, while cashing might incur fees.
Keeping a Record of Written Checks
Maintain a record of each check you write, including the check number, date, payee, and amount. This helps with tracking expenses.
Transition to Digital Payments
While checks still have their uses, consider transitioning to online banking and electronic payments for convenience and efficiency.
When to Use Checks
Use checks for situations that require a physical payment method, such as paying rent, gifting money, or making donations.
Practice Caution to Prevent Fraud
Be cautious when giving out checks, especially to unfamiliar individuals or entities, to prevent fraud or unauthorized transactions.
Conclusion
Though the prominence of checks has diminished, knowing how to write one is a practical skill. By following these steps, you can confidently write checks when necessary, ensuring a smooth and secure transaction process.
FAQs
- Can I postdate a check? Postdating a check is possible, but it might lead to complications. It’s better to use the current date.
- What if I make a mistake while writing a check? If you make a mistake, void the check and start over with a new one to avoid confusion.
- Is it necessary to use a memo line? No, the memo line is optional, but it can provide additional information about the payment.
- Can I use any pen to write a check? It’s recommended to use a gel pen, as it’s less prone to alterations or tampering.
- How long are checks typically valid? Checks are usually considered valid for six months, but it’s best to cash or deposit them promptly.


